How to Install a Shower Head Yourself: A Step-by-Step Guide
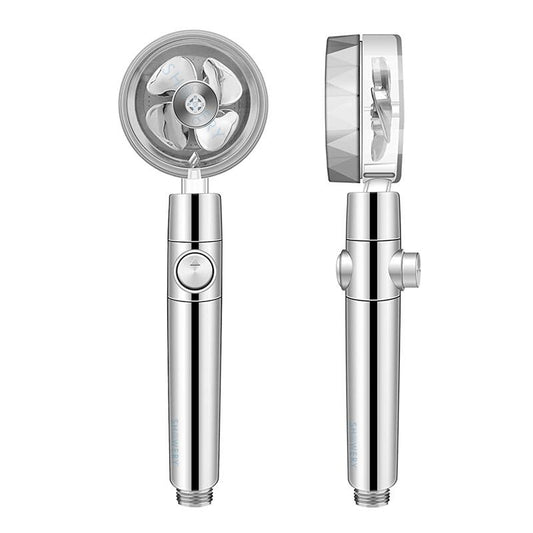
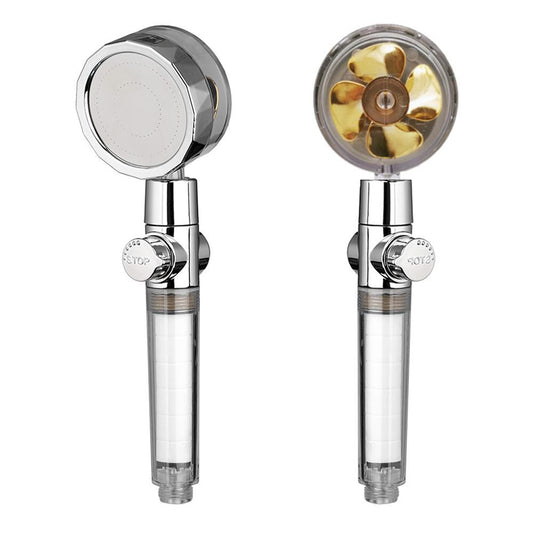
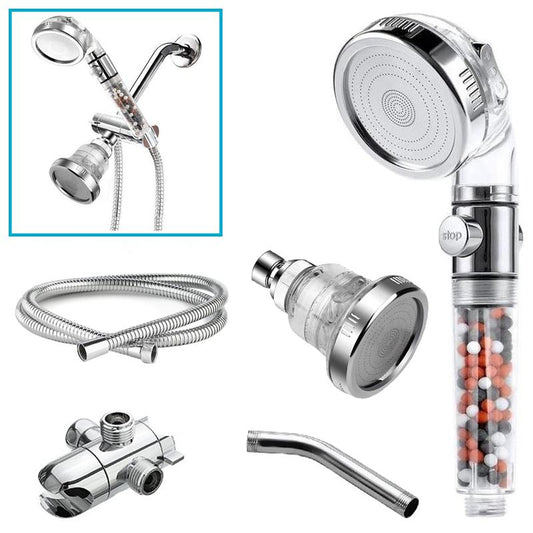
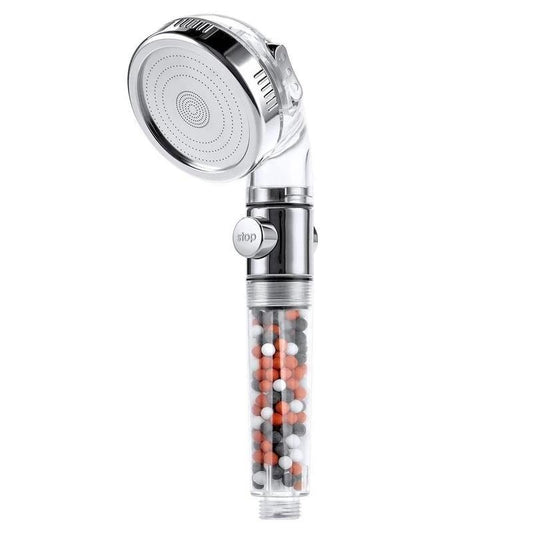
Installing a shower head yourself may seem daunting, but it's actually a straightforward task that can greatly enhance your bathroom. Whether you’re replacing an old shower head, upgrading to a high-pressure model, or improving water filtration, doing it yourself can save you both time and money. Here’s a step-by-step guide to help you install a shower head with ease, including tips for installing Showery shower heads.
Step 1: Gather Your Tools
Before you start, make sure you have these basic tools:
- Adjustable wrench
- Plumber’s tape (also known as Teflon tape)
- A soft cloth or towel
Most shower heads, including those from Showery, come with everything you need for installation. If you’re upgrading to a Showery shower head, you’ll find that it’s designed for easy installation without the need for professional tools.
Step 2: Remove the Old Shower Head
Begin by removing the old shower head. Use an adjustable wrench to loosen the connection where the shower head attaches to the arm (the pipe extending from the wall). If the old shower head is stubborn, use the wrench gently to avoid damaging the shower arm. Place a soft cloth over the fixture to prevent scratches.
After removing the old shower head, clean the threads of the shower arm to remove any debris or old tape.
Step 3: Apply Plumber’s Tape
To create a watertight seal, wrap the threads of the shower arm with plumber’s tape. This will help prevent leaks and ensure a secure connection. Wrap the tape around the threads two or three times, smoothing it out evenly.
Step 4: Attach Your New Shower Head
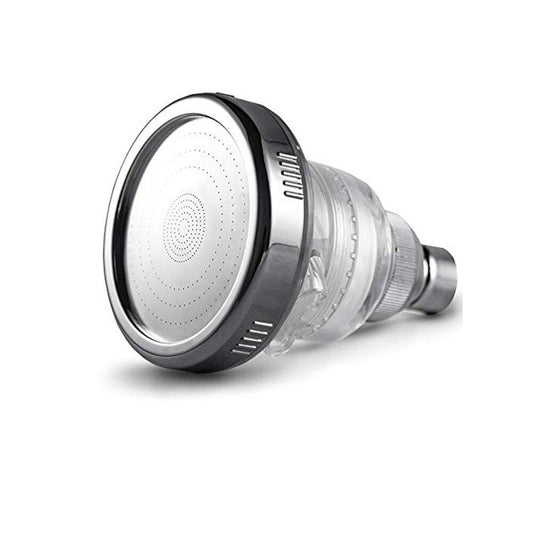
Next, attach your new shower head. If you’re installing a Showery shower head, the process is straightforward: simply screw it onto the shower arm. Turn it clockwise until it’s hand-tight.
Once it’s hand-tight, use the wrench to give it a quarter turn to secure it further. Be cautious not to overtighten, as this can damage the fixture or cause leaks.
Photo by: @ellenblisshome
Step 5: Test for Leaks
Before you finish, turn on the water to check for any leaks around the new shower head. If you notice any drips at the connection, turn off the water and tighten the shower head slightly. If the leak persists, you may need to remove the shower head and apply more plumber’s tape to the threads.
Step 6: Enjoy Your New Shower Experience
With your new shower head installed, you can now relish a refreshed showering experience. Showery shower heads provide high water pressure, water-saving features, and filtration benefits, making your daily shower more enjoyable and eco-friendly. Whether you opt for a multi-mode shower head or a high-pressure model, the advantages of upgrading are evident.
Tips for Maintenance
To keep your new shower head in top condition, clean it regularly. Over time, hard water and mineral deposits can build up and affect water flow. Showery’s shower heads are designed for easy cleaning and maintenance, ensuring they perform well for years to come.
Final Thoughts
Installing a shower head is a straightforward project that can significantly enhance your shower experience. With just a few tools and some plumber’s tape, you can have a new shower head fitted in no time. If you're considering an upgrade, Showery shower heads are an excellent choice, designed for easy installation and outstanding performance.


